|
|
Cool
Type Effect With Canvas™ 7
Part Three |
 |
|
|
|
|
|
|
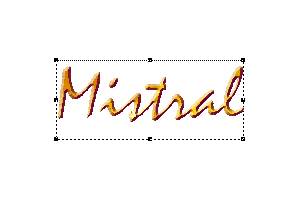
13. Now, without changing the original object, the
resolution of the effect has been changed to 300 ppi.
At this point, the text is still editable and even if
we convert it to paths, the path objects would still
be editable.
14. This time we'll change the object and not the effect.
We'll flatten the appearance of the text a little more
by increasing the point size of the type. Select the
point size drop down arrow on the Text Ruler and choose
100 for the point size. The effect is re-rendered to
reflect the change. The bevel is still 10 pixels wide
but because the object itself is larger it renders with
more pixels and the type has an even flatter look.

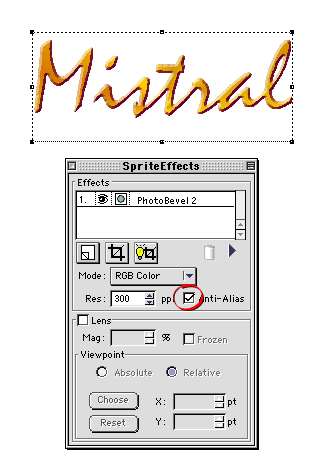
15. It's starting to shape up, but now we need to handle
the jagged appearance of the edges of the text. If you
zoom in you can see the jagged edges. This is because
we didn't use any anti-aliasing for the effect.

16. In the SpriteEffects™ palette click the "Anti-Alias"
checkbox. This will smooth out the type edges. In this
case we made a change to the effect and not the object.
Both remain editable.
Click
Here To Continue...
|