|
|
Photo Retouching with Photoshop®
Levels Adjustment - Part 1B |
 |
|
|
|
|
|
|
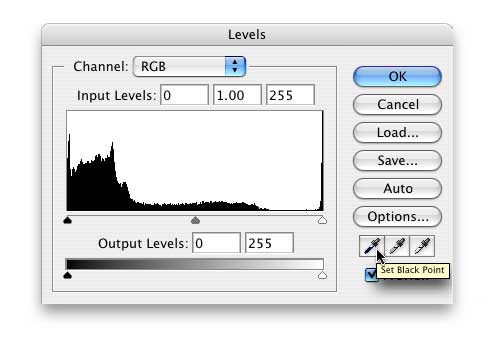
6. Now let's turn our attention to the Levels dialog box. As I mentioned earlier, you can use the Levels adjustment in a variety of ways. In this example, we will use the little dropper buttons in the lower right corner. Click the one on the left to set the black point.
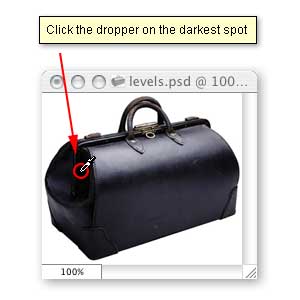
7. Find the darkest area on the image and click the dropper once.
8. Next click the button on the right to set the white point.
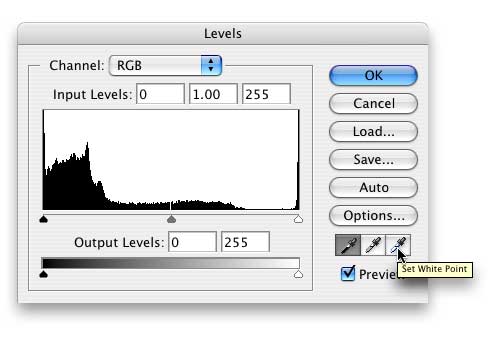
9. Find the lightest area on the image and click the dropper once.

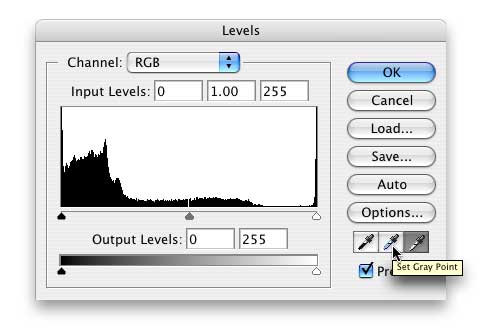
10. Finally, click the button in the middle to set the gray point.
Click
Here To Continue...
|