|
|
Vectorize
a Logo From an Image |
 |
|
|
|
|
|
|
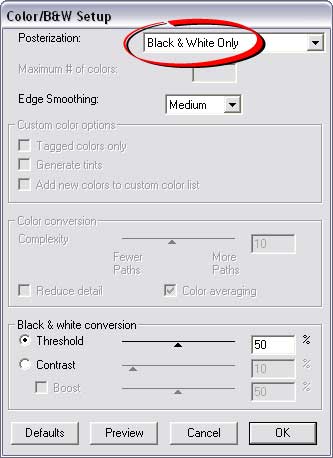
35. Click Options > Color/B&W Setup.
The only change from the defaults is to choose "Black & White
Only" in the Posterization drop down menu. This is
the reason I like to work with grayscale images in
Streamline ... it's easy.
36. Click Options > Conversion Setup. The only change from the defaults
is to place a check mark only in the Centerline checkbox in the "Methods" box
in the Conversion section of the dialog. In this example, the butterfly lines
are of uniform weight, so there is no need to trace around the outside of the
lines.
37. Next, click File > Convert. The converted art will appear in
the document window as shown below.
 |
|
Note: The
conversion may look rough or incomplete, but
you should usually expect to do some manual
cleanup in a drawing program like Illustrator® or
FreeHand®. In the subsequent steps we will
be cleaning it up in FreeHand®. |
38. Next, click File > Save Art As, then
choose a filename and save the vector art to disk.
A dialog appears for you to choose the EPS preview
option. I chose color. Click OK to save the EPS file
to disk.
Click
Here To Continue...
|