|
|
Vectorize
a Logo From an Image |
 |
|
|
|
|
|
|
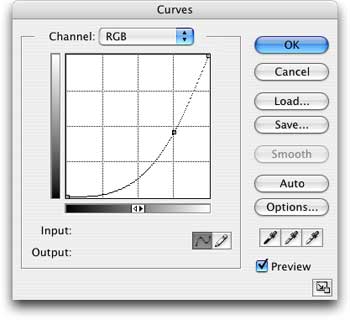
31. To give the lines a slightly heavier weight, I
added a Curves adjustment layer. Click Layer > New
Adjustment Layer > Curves. In this example the
curve was dragged to the shape in the screenshot below.
Make sure the Preview checkbox checked so you can see
the effect of the curve adjustment in the document
window.
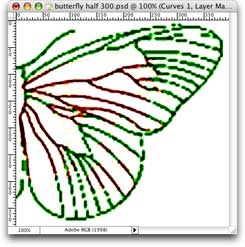
32. Below is a view of the image with all the adjustments. The lines look distinct
and heavy and easy to trace.
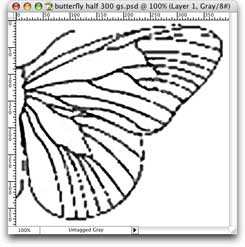
33. In this case I felt it was best to work with a grayscale image in Adobe® Streamline®.
The default color settings work well with grayscale images in Adobe® Streamline®.
This will be a color separated logo anyway so you can use grayscale for any
one color. After it is converted to vector art, we will assign a PMS (PANTONE)
spot color to these objects. Click Image > Mode > Grayscale to
convert the image to grayscale.
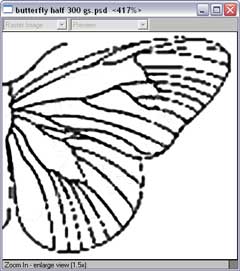
Part II: Trace The Butterfly
34. Launch Adobe® Streamline®, then click File > Open and
navigate to the grayscale Photoshop® file to open
it. The document window will look something like the
one below.
Click
Here To Continue...
|