|
|
Deneba
Canvas™ 6 Image Editing Tutorial |
 |
|
|
|
|
|
|
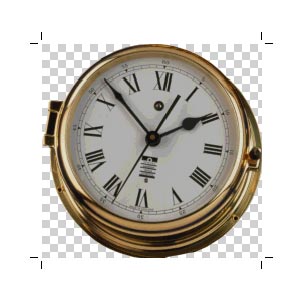
1. Below is an image of a clock from a clipart collection.
It looks pretty dark and dull. Let's brighten it up.
Click with any painting tool to place it in edit mode.
2. The first adjustment will be to the brightness values
of the entire image. Click Image > Adjust >
Curves. We want to lighten the highlights more than
the shadows. Click two points on the diagonal line as
shown below. The red circle on the left is for the shadows
and the one on the right is for the highlights.
3. Drag the left and right points upwards as shown.
The right point is dragged higher than the left point
to lighten the highlights more than the shadows.
4. It looks much better. The brass areas look good
and we want to leave them alone but the dial still has
some muddy looking shadows. To make adjustments to part
of an image you need to make a selection. Select the
Oval Marquee tool and with Windows®
Ctrl-Drag a selection from the center of the dial outwards
(with Mac® begin dragging
before pressing Control). If the selection is too big
or too small you can adjust its size by clicking Image
> Select > Modify and choose either "Expand"
or "Contract".
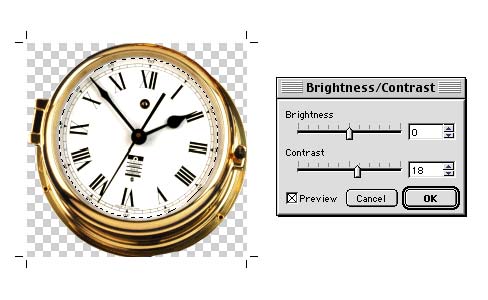
5. When you are satisfied with the selection marquee,
click Image > Adjust > Brightness/Contrast.
Click the "Preview" check box and drag the
contrast slider to the right to increase the contrast
slightly. This will brighten the highlights and darken
the shadows and will tend to make the muddy areas disappear.
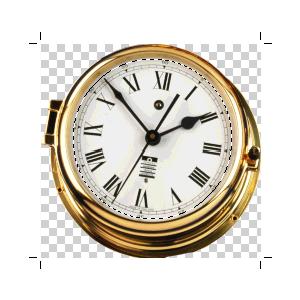
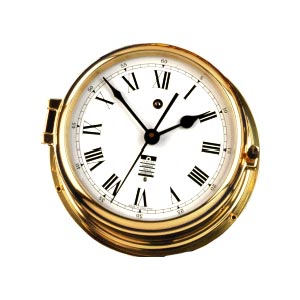
6. The finished image looks much cleaner with a minimum
of effort.
Click
Here To Continue...
|