|
|
Cool
Type Effect With Canvas™ 7
Part Five |
 |
|
|
|
|
|
|
20. In the previous example, the shadow and text objects
were combined as a single bitmap. However, you can render
the text and the shadow as separate images so you have
greater control in how they are used. The easiest way
to do this is to save the text and shadow objects as
two different images. Then we will open the two images
in Photoshop and make a multi-layered document from
them. Before we do, we want to make sure that both images
line up perfectly. A trick you can use is to drag a
rectangle around both objects and render each image
with the same rectangle as a border. The rectangle will
serve as a common frame of reference for both images.
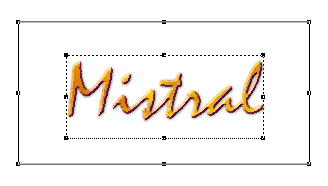
Using the Rectangle tool drag a rectangle around the
text and its shadow. Make sure to give it a fill
of "none" so it will render as transparent.
 |
|
Tip:
You can use this same technique to create individual
frames for animations. This will ensure that all
images have a common frame of reference. |
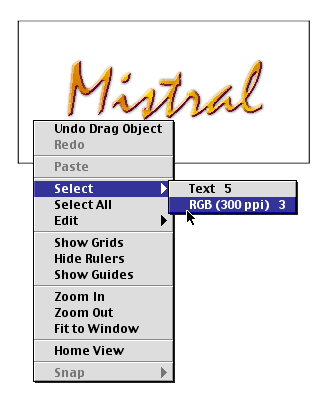
21. The shadow object lies underneath the text object
in the stacking order. To select underneath, right-click
(Windows®) or Control-click
(Mac®) to access the context
menu. In the context menu select the shadow object.
In the example below, it is named "RGB (300 ppi)
3". The name may be different on your system.
22. The shadow object is now selected...
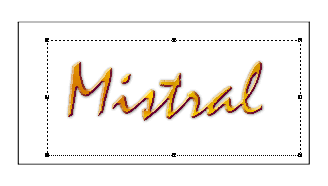
23. Shift-click on the rectangle to select it. Now
both the shadow object and the rectangle are selected..
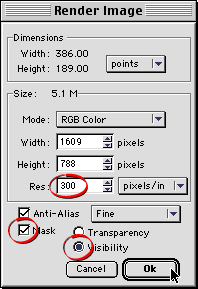
24. Next, click File > Save As... and choose
Photoshop® as the File Format
and click the "Save Selection" radio button.
Save this image as "cooltype1.psd". When you
click "Save" you will see the "Render
Image" dialog. Again, we want a 300 ppi anti-aliased
image with a visibility mask. Click "OK" when
done.
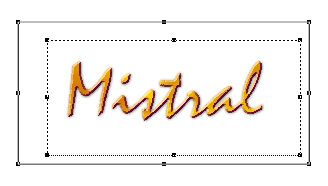
25. Next select both the rectangle and the text object
and click File > Save As... Repeat the previous
step and save this image as "cooltype2.psd".
Click
Here To Continue...
|