|
|
Cool
Traveling Lens Effect In Canvas™ 7
Part Two |
 |
|
|
|
|
|
|
5. When finished typing, press Esc. This
will leave the new text object selected.
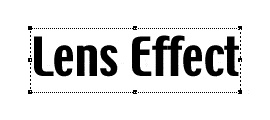
6. Using the Type Palette or the Text
Ruler, choose a font and point size that appeals to
you. In this example I used Techno, one of the fonts
that comes with Mac® OS 9.
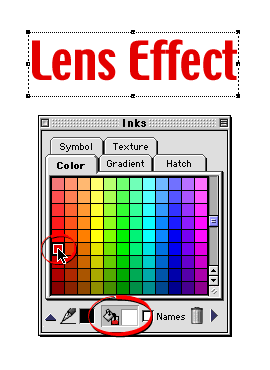
7. Bring up the Inks palette. Press the
Fill button (circled below right) and click a fill color
of your choice.
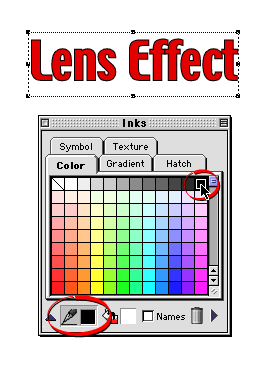
8. Then press the Frame button (circled
below left) and choose an outline color for the text.
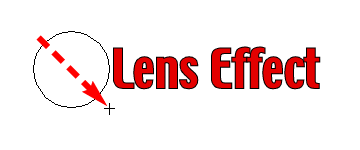
9. Next select the Oval tool  and while holding the Shift key, drag out a small circle
next to the new text object.
and while holding the Shift key, drag out a small circle
next to the new text object.
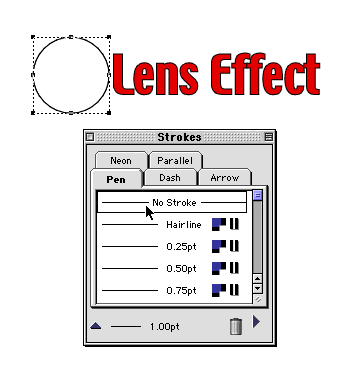
10. In the Strokes palette, select "No
Stroke" from the Pen tab.
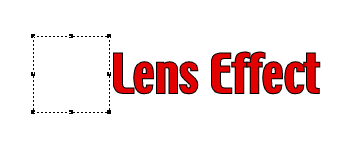
11. Your workspace should look something
like the example below.
Click
Here To Continue...
|