62. Highlight the text in the box. Using the same technique
for formatting the text in the previous text box on
page two (see step 41 on a previous page), use 12 point
Helvetica Italic with 12 points of leading.
Tip:
When pasting text, all the formatting of the copied
text is pasted with it. This can be a real time-saver
when entering new text from the keyboard or pasting
unformatted text from a plain (ascii) text file.
Simply paste a few characters of the pre-formatted
text into the box, then enter or paste the new text.
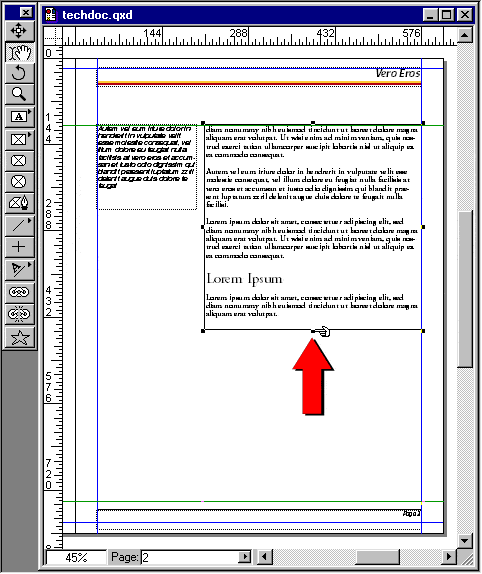
63. Drag the bottom center handle of the right-hand text
box upwards until there are three lines of text showing
in the paragraph following the subhead. Note that measurements
are not important here. This can be done by eye.
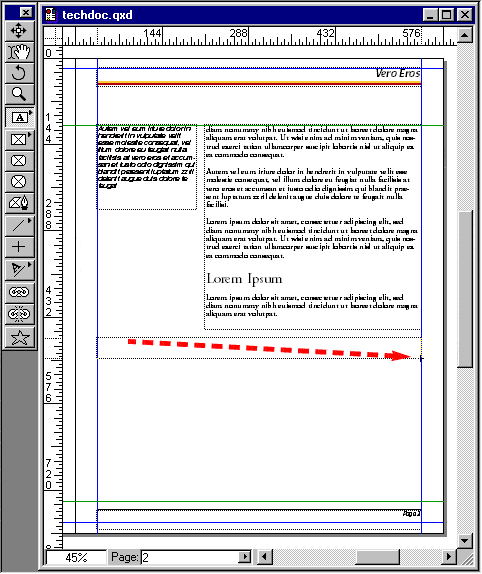
64. Drag a new rectangle approximately in the location
shown using either the Rectangular Picture Box tool or
the Rectangular Text Box tool. Make sure it snaps to the
margins, then click Item > Content > None.
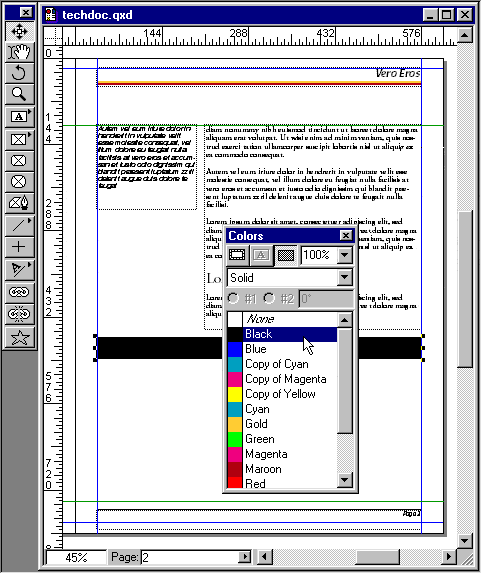
65. Give it a black background color. Here we are using
the Color palette, but you also can click Item >
Modify and use the dialog.