Part Two: Load The EPS File Into Illustrator®
And Cleanup
1. Open the previously exported EPS image file into
Adobe Illustrator. Whoops!. The image has been resized
during the export process. It has to be cleaned up:
2. Click the Links tab in the Layers Palette and double-click
the image link.
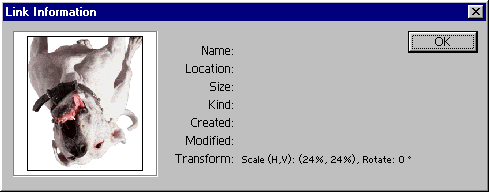
3. The link information reveals that the embedded image
has been resized to 24% of the original. It is also
upside down (?) Go figure!
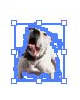
4. Using the Selection Tool, drag a marquee around the
image to select it and its mask.
Note: If you need to resize
the image as in this example, proceed with steps 5 through
7, otherwise skip to step 8.
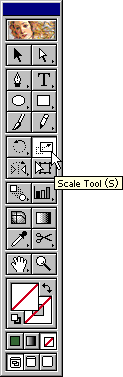
5. Double-click the Scale Tool in the Tool Palette.
Here's the Tool Palette
in the PC...
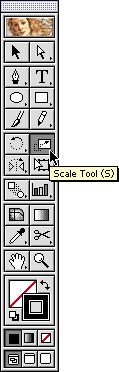
Here it is in the Mac®...
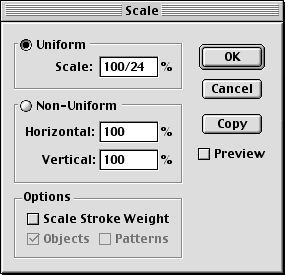
6. Select "Uniform" and after the "100"
enter a division sign followed by .24. The dialog box
accepts mathematical operators. This is the Mac version...
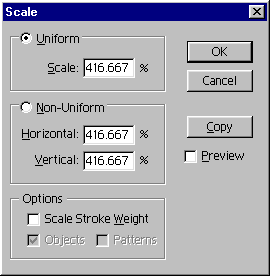
7. Click anywhere in the box. The dialog box performs
the calculation. Then click "OK". This is
the PC version...
8. The image is resized to 100%. Save the file. Then
click Edit > Copy to copy it into memory.
If Photoshop is not already loaded, launch it now.