|
|
Moving
Clipping Paths From Corel® PHOTO-PAINT®
8 |
 |
|
|
|
|
|
|
Part Three: Transfer from Adobe® Illustrator®
to Photoshop®
1. Open the EPS file. Photoshop has to rasterize it.
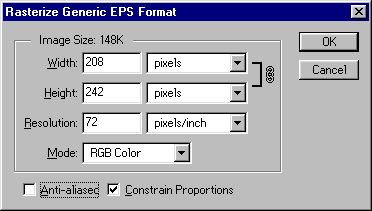
2. Then File > Save As [your filename].PSD.
Here it is in the PC...
 |
Here it is in the Mac®...
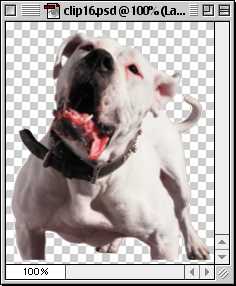 |
3. If you haven't previously copied the image into
memory, from within Illustrator click Edit > Copy.
Then within Photoshop click Edit > Paste (you
must have a file open for Paste to be available). Both
vector and bitmap data has been copied into memory.
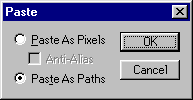
Choose "Paste As Paths" when asked.
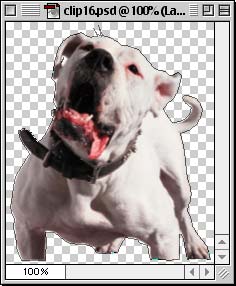
4. The path is pasted into the image.
Here it is in the PC...
 |
Here it is in the Mac...
 |
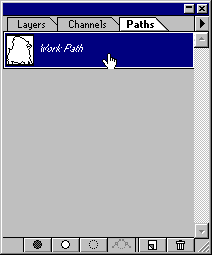
5. Now save the path with the file. First click the
Paths tab on the Layers Palette, then double-click the
Work Path.
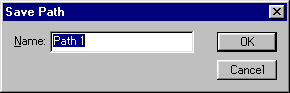
6. You have to name the path to save it with the file,
the default is "Path 1". Click "OK".
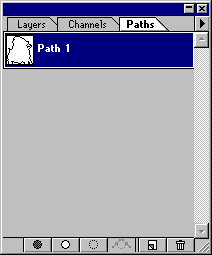
7. Now click File > Save to save the file.
Here it is in the PC...
 |
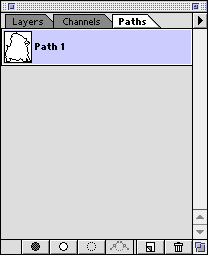
Here it is in the Mac...
 |
Click
Here To Continue...
|