|
|
Making
Custom Arrowheads In Macromedia® FreeHand® |
 |
|
|
|
|
|
|
Macromedia FreeHand ships with a selection of arrowheads
but you may encounter a situation where the selection
of predefined arrowheads is inadequate. In this case
you could make a path object in the shape of an arrowhead
and position it on the end of the line. This is not
optimum, because if you change the line you will have
to reposition, scale and/or rotate the arrowhead to
remain properly oriented to the line.
However, there is a better solution. FreeHand has an
arrowhead editor where you can define a custom arrowhead.
The advantage to defining your own arrowhead is that
you can resize or reshape the line and it will always
appear in the correct orientation and proportion to
any line on which it is used.
Once you define an arrowhead in FreeHand, lines using
them can be pasted into other FreeHand documents and
the new documents will inherit the arrowheads. Using
the technique detailed below, you could create a library
of custom arrowheads which you could use in your FreeHand
drawings.
1. To begin, you will need a vector arrowhead shape.
In this example we opened an Adobe®
Illustrator® document in FreeHand
(FreeHand has an import filter for Illustrator documents).
You could also open a PDF file and import arrowheads
in the same manner. You can copy and paste vector shapes
from any document that you can open in FreeHand. You
also can draw your own.
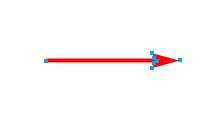
2. In this imported drawing the arrowhead is a separate
object from the line.

3. By putting the document in Keyline view, you can
see that the arrowhead is a separate closed path and
is not part of the line.
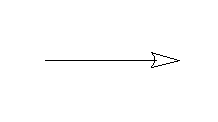
4. Using the Pointer tool, select just the arrowhead
object and click Edit > Copy to copy it to
the clipboard.

5. Draw a line using the Line tool.
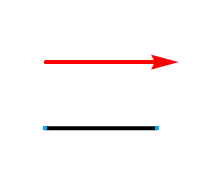
6. Bring up the Stroke tab on the Object Inspector.
At the bottom are two arrowhead pulldowns. Click one
of them (circled below left). In the menu, select "New"
(below right). This will bring up the Arrowhead Editor.
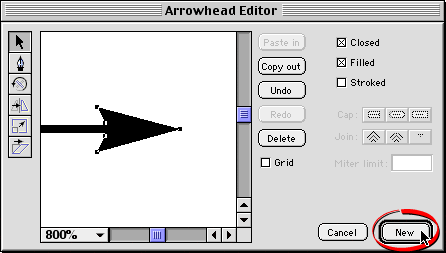
7. Click the "Paste in" button in the Arrowhead
Editor.
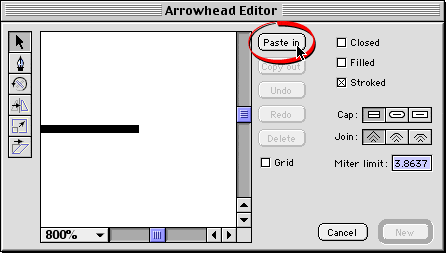
8. Then click "New". This adds the arrowhead
to the list of predefined arrowheads and is now available
to use on any line.
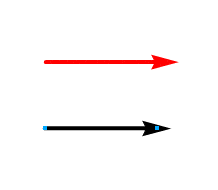
9. The new line, still selected will have the new arrowhead
applied to it.
10. Just to illustrate what you can do with your new
arrowhead, click the "Width" pulldown in the
Object inspector to double the stroke from 4 to 8 points
(below left). As you can see, the result will be that
the arrowhead will double in size in direct proportion
to the increase in stroke (below right). If the arrowhead
was a separate object it would not scale up with the
line.
11. Next, select the endpoint of the line and drag
it to the right.
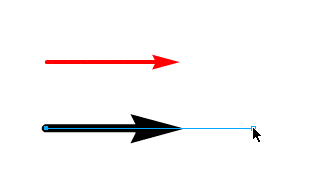
12. The arrowhead will move with the line. If the arrowhead
was a separate object it would remain in the middle
of the line and not on the end.
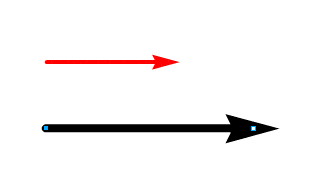
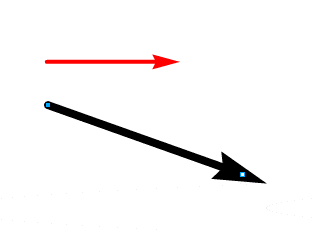
13. You can also drag the endpoint to any other position
and the arrowhead will stay in the proper orientation
to the line. You couldn't do this if the arrowhead was
a separate object.
|