|
|
Perspective
Drawing Technique For Macromedia® FreeHand® |
 |
|
|
|
|
|
|
 |
|
Note: This
tutorial requires at least a basic familiarity with
two-point perspective drawing on the part of the
reader. This is just an example of how to use
the two-point perspective method in a drawing program. |
Although the latest version of Macromedia
FreeHand has a built-in perspective drawing grid, this
technique uses guide lines to rough out the object you
are drawing. As shown below in the following steps,
I was able to draw a DSL modem using this technique.
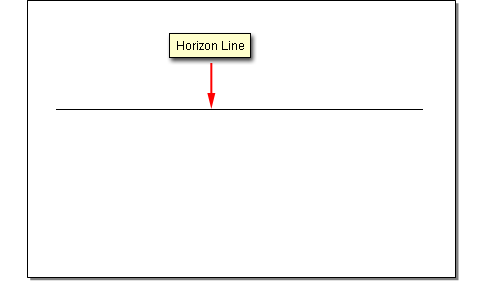
1. Setup your drawing area and draw a
horizon line either with the Line tool or the Pen tool.
Constrain the line with the Shift key so it is perfectly
horizontal.
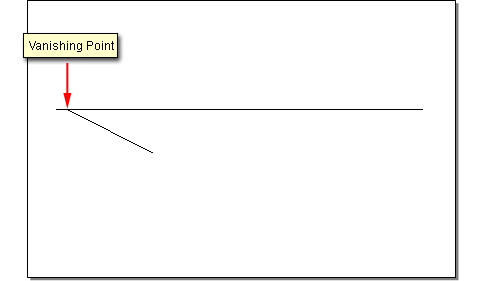
2. Click View > Snap To Point,
then use either the Pen or Line tool to draw the first
guide from the left. The left point of this line will
be the left vanishing point. Its position is arbitrary
and of your own choosing but it lays on the horizon
line. By enabling "Snap To Point", you can
snap any number of additional lines to this vanishing
point.
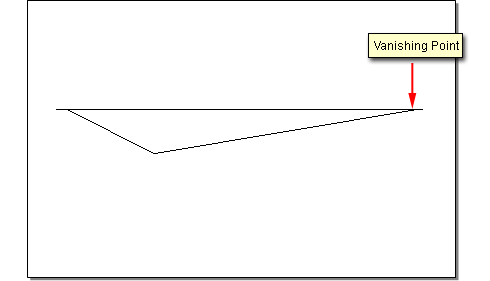
3. Similarly, create the first right hand
guide. The right point of this line will be the right
vanishing point.
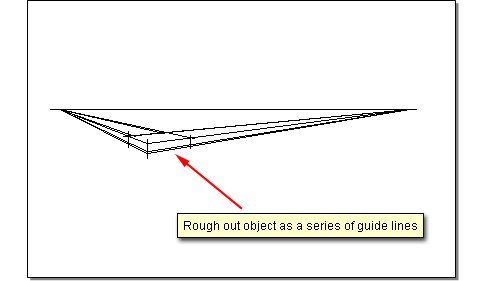
4. Continue roughing out the drawing in
this fashion as a series of guide lines. At this stage
you can easily adjust the endpoint of any line while
preserving the ends that converge into the vanishing
points. By roughing out the drawing this way, you can
make changes until the desired form begins to take shape.
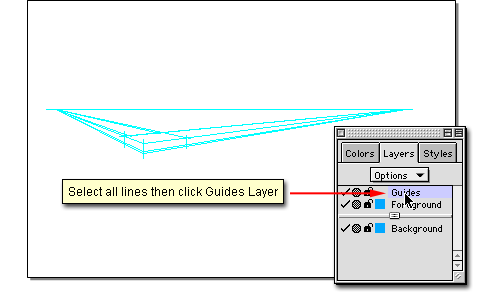
5. When you are satisfied that you have
enough guide lines for your drawing, click Edit >
Select > All, then click the Guides layer in
the Layers panel to send all the lines to the Guides
layer. Next click View > Snap To Guides to
enable snapping to these guides.
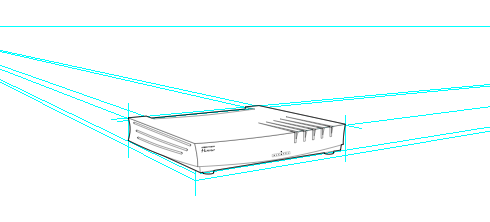
6. With "Snap To Guides" enabled,
you can build your drawing piece by piece, aligning
the objects to these guides as you go. You can always
make new guide lines on any layer and send them to the
Guides layer where they become guide objects.
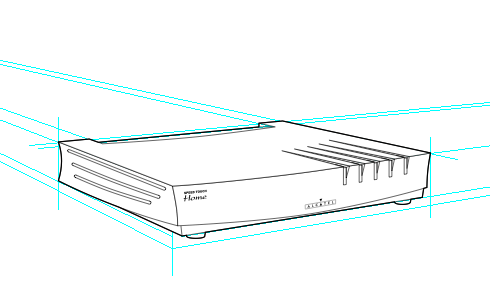
7. Here's a closer look at the finished
drawing with the guides.
|