|
|
Vectorize
a Logo From an Image |
 |
|
|
|
|
|
|
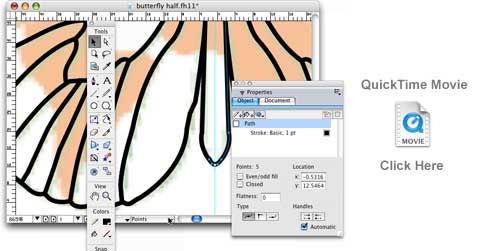
43. Still working in FreeHand®, the next step
is to join the two halves of the butterfly together.
But first we want to zoom in a bit to make some final
adjustments to the positioning of the two halves to
make sure they line up with the template image in the
background layer. Please view the QuickTime® movie
below to see how to do it step by step.
Commands used in the movie: Macintosh to Windows translations
| Macintosh |
Windows |
Command |
| Cmd+Shift+G |
Ctrl+Shift+G |
Ungroup |
| Cmd+J |
Ctrl+J |
Join selected objects |
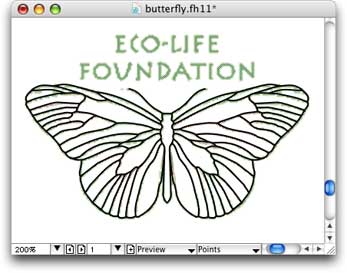
44. When finished, the two halves of the butterfly
are joined together and the vector art lines up with
the original GIF image. At this step I saved the
file as butterfly.fh11 (File > Save As butterfly.fh11).
Part IV: Separate The Orange Color
45. Returning to the Photoshop® file, we want
to activate the layer containing the original logo
art and turn off the visibility for the layers that
were added above it. Click the layer visibility icon
(the little "eye" icon to the left of the layer thumbnail)
to toggle layer visibility and click the the layer
itself to make it the a live layer. Please view the
QuickTime® movie below to see how to do this step
by step.

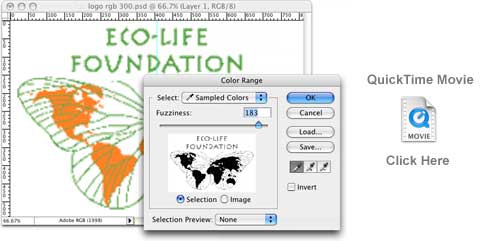
46. Click Select > Color Range to bring up the color range selection
dialog once again. Use the eyedropper to select the orange color, then use
the plus eyedropper (the eyedropper with the plus sign next to it) to add to
the selection bit by bit. Use the fuzziness slider to increase or decrease
fuzziness. Continue adding to the selection bit by bit by selecting orange
around the fringes and patches of orange in the main selection area. I used "Black
Matte" from the Selection Preview drop down menu, then inverted the selection
to make it easy to see what I was selecting. I also zoomed in the document
by pressing the the spacebar while holding down the Command key on the Macintosh®.
On the PC you would hold down the Ctrl key while pressing the spacebar. Please
view the QuickTime® movie below to see how to do it step by step.
Commands used in the movie: Macintosh to Windows translations
| Macintosh |
Windows |
Command |
| Cmd+Spacebar |
Ctrl+Spacebar |
Zoom Tool |
Click
Here To Continue...
|