|
|
Vectorize
a Logo From an Image |
 |
|
|
|
|
|
|
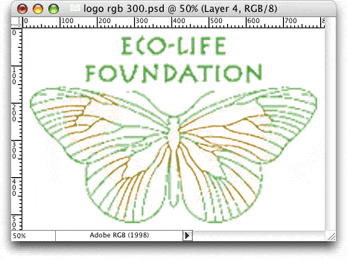
18. In the document window you can see that most of
the unwanted pixels are cleared away. This should be
sufficient for this phase. In the next phase, we will
use adjustments to minimize the remaining artifacts
of orange color while at the same time heavy up the
lines we want to trace in Adobe® Streamline®.
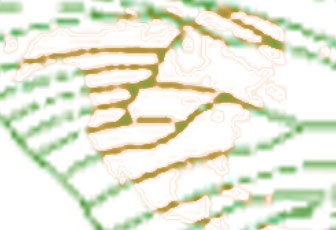
19. Below is a screenshot of the image with the bulk
of the orange color removed.
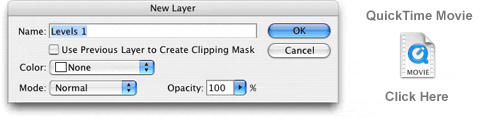
20. We want to adjust the levels a bit to heavy up
the lines. Click Layer > New Adjustment Layer > Levels.
You will see a dialog like the one below. Click OK
to create the adjustment layer, then View the QuickTime® movie
below to see how to do the levels adjustment.
 |
|
Tip:
By using an adjustment layer you can make the
adjustment without permanently affecting the
pixels. |
Please see the following tutorials for more info on making levels adjustments
in Photoshop®:
Photoshop Levels
Adjustment Part 1
Photoshop Levels
Adjustment Part 2
Photoshop Levels
Adjustment Part 3
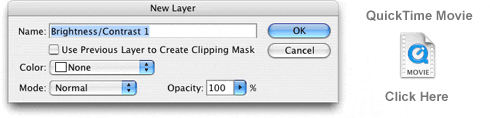
21. Next, we want to increase the contrast to cause
the remaining artifacts of the unwanted orange pixels
to fade away. Click Layer > New Adjustment
Layer > Brightness/Contrast. View the QuickTime® movie
below to see how to make the adjustment.
Click
Here To Continue...
|