|
|
Coffee
Cup Animation Part Three
Creating The Frame Images Continued |
 |
|
|
|
|
|
|
14. Next, you will see a dialog. Use the following
settings circled or underlined in the graphic below:
RGB Color
Anti-aliasing
1 to 1 Size
72 dpi resolution
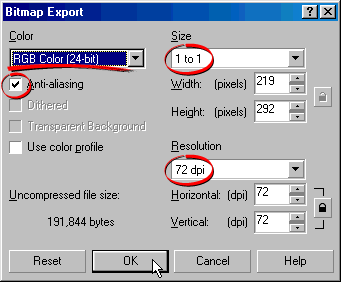
We want RGB color (24-bit True Color). The GIF file
format only supports a maximum of 256 colors more
here on True Color and the GIF file format. If you
save the frames as individual GIF images, each will
have a different palette and and there may be flickering
between the frames because of the different colors.
By saving the frames in True Color, the animation program
will generate a common palette for all the frames. Alternately,
you can export frames as GIF images if you want a transparent
background. You just need to be aware that there is
a tradeoff between color depth and transparency.
Anti-aliasing will give the images a smooth appearance.
Otherwise the images will appear jagged more
here on anti-aliasing.
Choose a 1 to 1 size. If you want the finished animation
to be smaller or larger, then adjust this amount.
Since the finished animation is for a screen display,
choose 72 dpi for the resolution more
here on resolution.
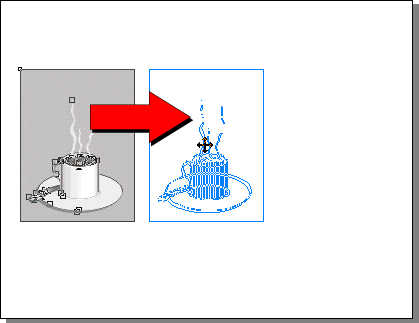
15. Next, we want to duplicate the frame. Click Ctrl-D
or Edit > Copy followed by Edit > Paste,
then drag the duplicate to the right of the first frame.
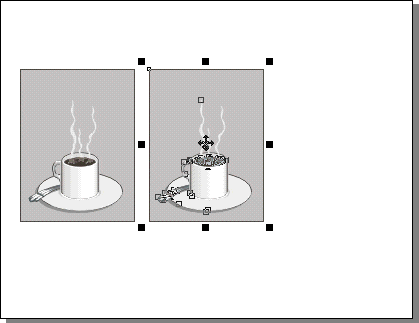
16. The duplicated frame appears to the right of the
first one.
 |
|
Tip: This is the best
way to animate frames in a vector graphics application
such as CorelDRAW®, Deneba Canvas™, Adobe®
Illustrator® or Macromedia® FreeHand®.
By duplicating the previous frame, you can make
small changes to the vector objects and achieve
a smooth animation. |
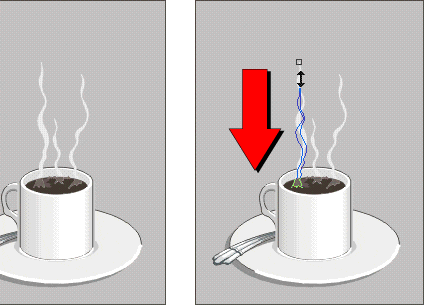
17. In this frame we will modify the steam objects.
There are 3 columns of steam (left, center and right).
We are going to make the left one fall, and make the
center and right ones rise. Start by selecting the left
steam column.
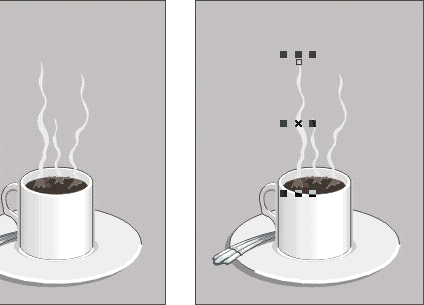
18. Using the Pick Tool, grab the top center handle
and drag downwards slightly.
Click
Here To Continue...
|