|
|
Using
a Blend For Irregular Shapes in FreeHand® -
Part Two |
 |
|
|
|
|
|
|
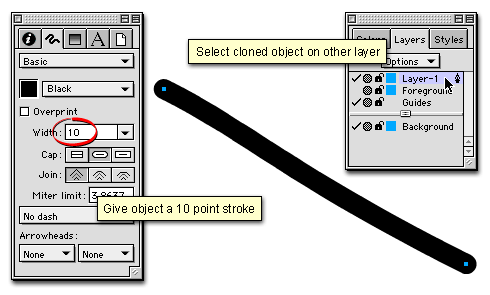
6. Hide the current layer, then activate
the layer with the cloned object. Select it and give
it a 10 point stroke.
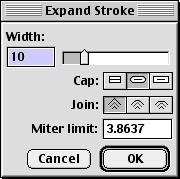
7. Next, click Modify > Alter Path
> Expand Stroke. Click "OK" in the
dialog.
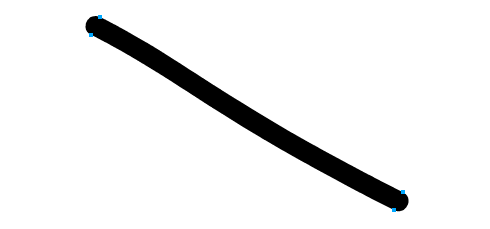
8. This creates a closed path out of the
line.
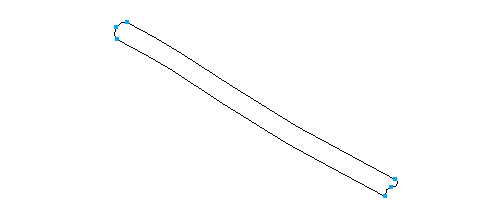
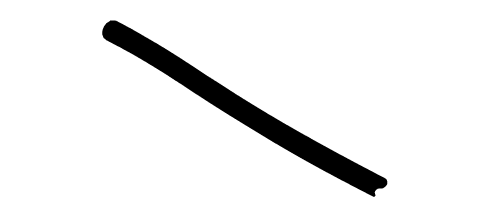
9. Modify the object to the desired shape.
This object will be a clipping path for the blend. It
is shown below in Keyline mode.
10. Give the object a black fill.
11. Activate the layer containing the
blend and select it, then click Edit > Cut.

12. Activate the other layer, select the
path and click Edit > Paste Inside. The black
filled object becomes a clipping path for the blend.

 |
|
Note: Please
notice that the clipping path object retains its
stroke and fill properties. In this case the clipping
path is the closed path of the cord with a black
stroke and fill. Different applications each treat
clipping paths in a slightly different way. In Deneba
Canvas™, Adobe® Illustrator®
or Photoshop® the stroke and fill of a clipping
path will be "none" (blank), while in
Macromedia® FreeHand or CorelDRAW® a clipping
path retains its stroke and fill properties. More
on masks and clipping paths here,
here
and here. |
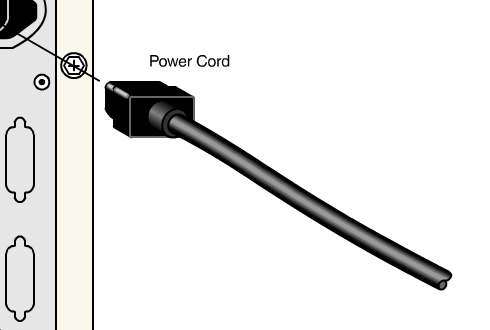
13. Shown below is the finished drawing.
This example was just a simple curved shape. This same
technique can be used on a more complex shape with more
than two objects in the blend.
|